

Design of your LMS
Set row and content width
There are several ways to adjust row and content width settings and behavior.
1. Row settings: the way to change default settings on individual rows.
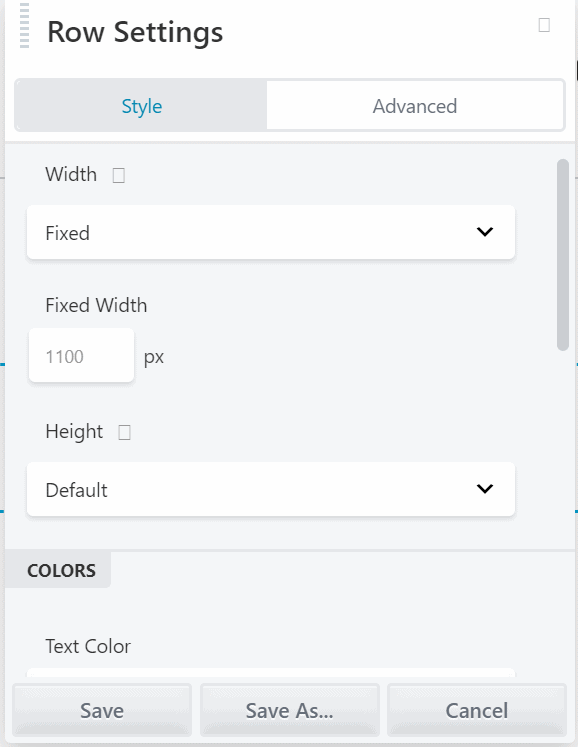
Set row and content width on the Style tab when you open a row’s settings.
If row Width is set to Full width, you also get an option to set Content width to Full width or Fixed, as shown in the following screenshot. If either row width or content width is set to Fixed, you also get the option to set the content max width.
2. Row drag handles: shortcut to set the max row width in pixels right in your layout.
If either the row or content width is set to Fixed in row settings, you can change the width by moving the drag handle. Row drag handles appear on the outer edge of content boxes, as shown in the following screenshot.
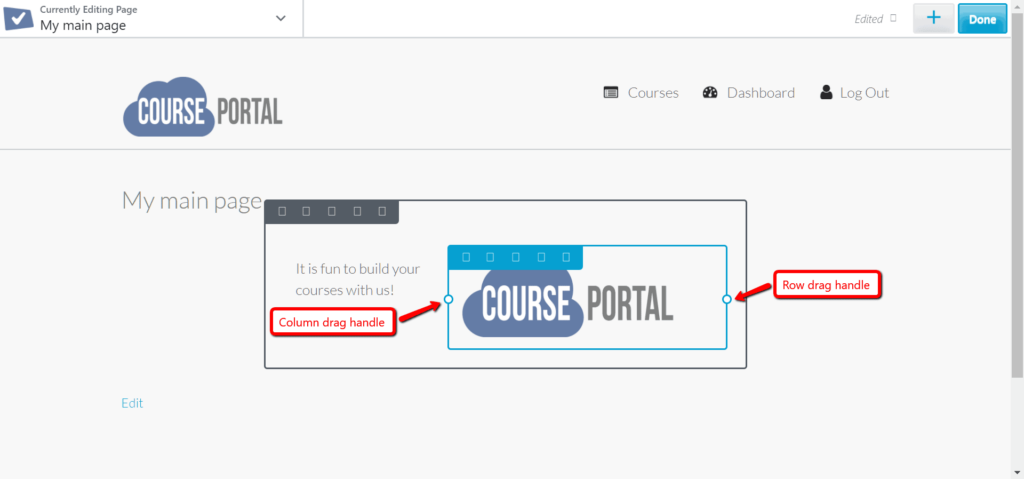
You’ll see a tooltip showing the max width in pixels as you drag. If you hold the Shift key down while you drag, the unit field changes to 10px instead of 1px. If you don’t see a drag handle, it means both the row and column are set to full width in row settings.
When you click and hold the drag handle, the selection changes to include the entire row’s content. In the following animation, clicking and holding the drag handle of one item in a multi-column row will expand to select the entire row’s content area.
3. Global settings: lets you assign new default settings for rows.
You can change the site-wide default settings for row width, content width, and max width in the Rows section of Tools > Global Settings. You can also change the default row margins and padding sizes.

If you’re comfortable with adding PHP to your child theme’s functions.php file, you can customize row resizing behavior or disable the ability to set max content width. See the articles on customizing row resizing behavior for more information.
Tip: See the articles on full-width and fixed-width rows for the basics of how row and content width works in Page Builder.